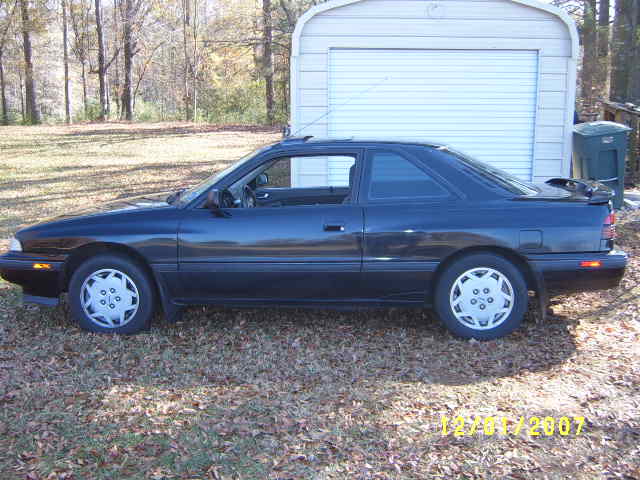
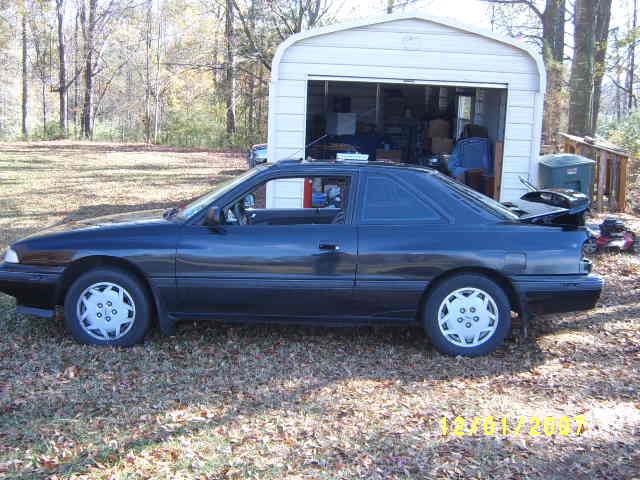
Donor Vehicle: 1989 Mazda MX6 GT
Purpose: Tinting tail lamps and side markers on a 1G Mazda MX-6
Supplies:
VHT Tint Spray - $7.95 @ Summit Racing - High Performance Car and Truck Parts | 800-230-3030
Tools:
Phillips Screwdriver
Flat Head Screwdriver
10mm deep socket & ratchet
Tips: Do this above 65 degrees, and set aside a day to do this as you do not rush paint. Also keep track of the screws and nuts. I just replaced them where I took them out when I removed the part.
Now the procedure:
1) Now with your phillips head screwdriver remove all four side
markers. The two red ones are reflectors and the yellow ones are
actually lit by your turn signals. You may need the help of flat head
screwdriver to pull them out. I personally just used the screw and
turned it so it pulled the marker out with it. This should take your
roughly 5 minutes to remove all four side markers.
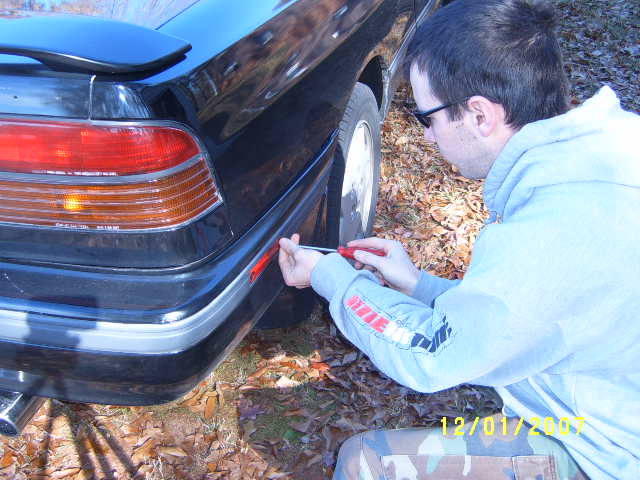
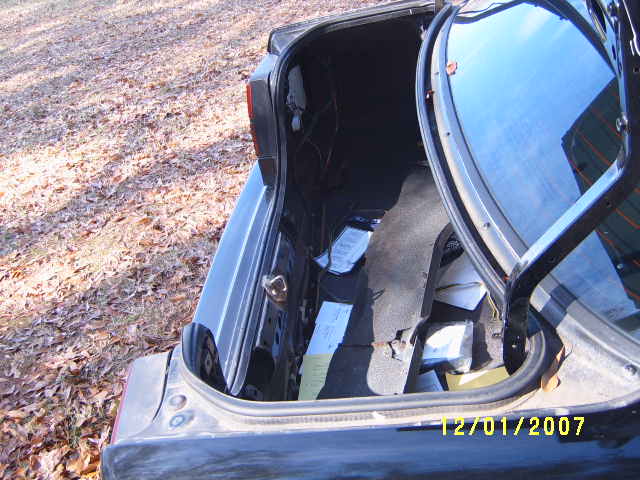
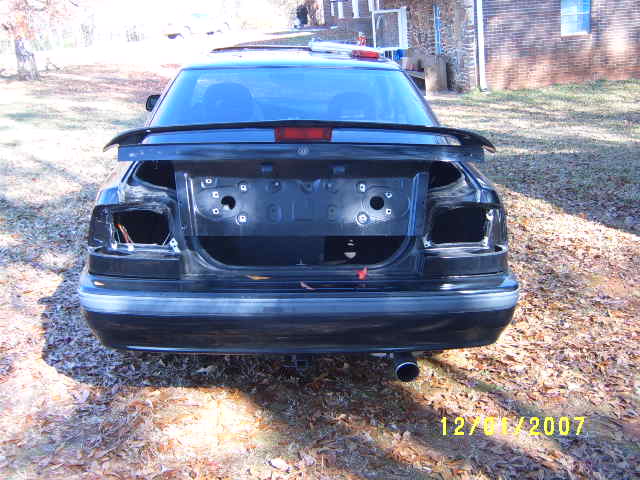
2) Now removing the tail lamps.You first need to remove 3 phillips head screws holding the trunk trim piece in like in the following pictures to gain access to the side tail lamps.
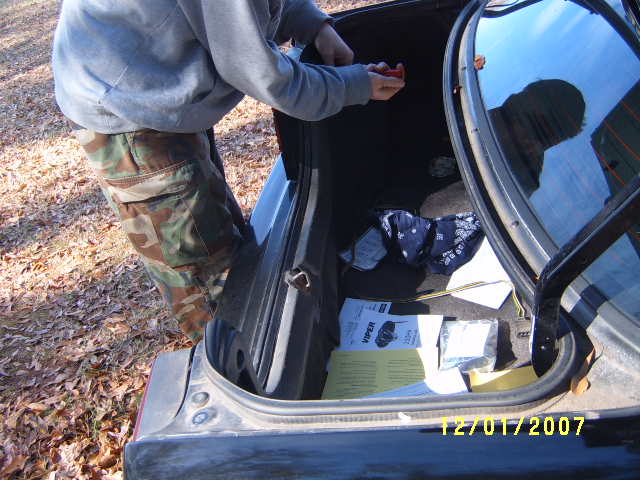
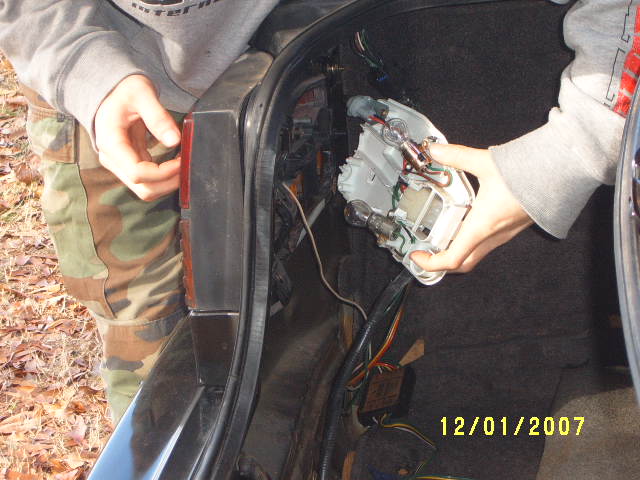
3) Now remove the bulb assemblies carefully taking notes of where
everything goes. There are four 10mm nuts holding on the lamps. Remove
these.
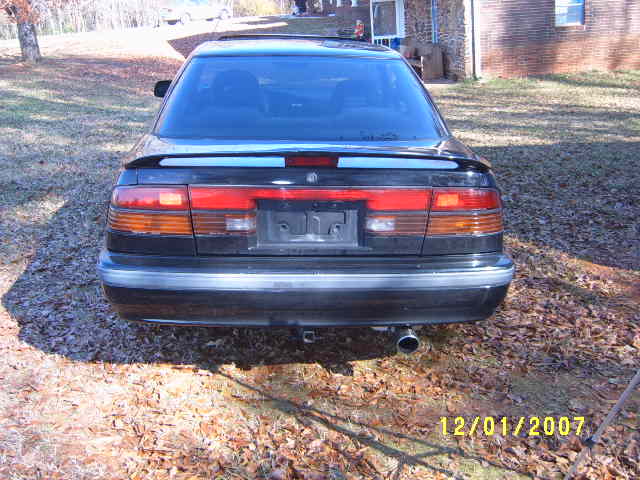
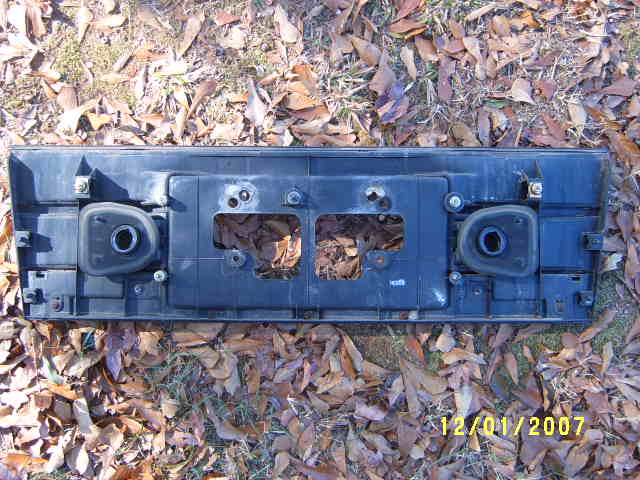
4) Removing the trunk tail lamp. First remove your license plate.
Remove the reverse lamps and you will see 6 10mm nuts. Just simply
remove these and CAREFULLY pull it off your car. There are some push
pins holding it so you may need to gently pry them to pull it carefully.

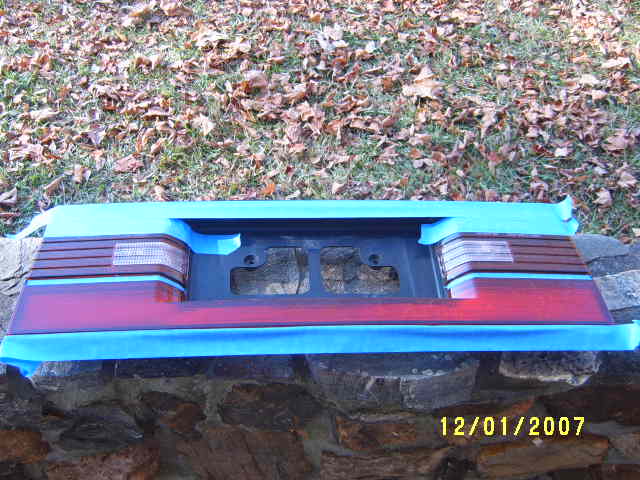
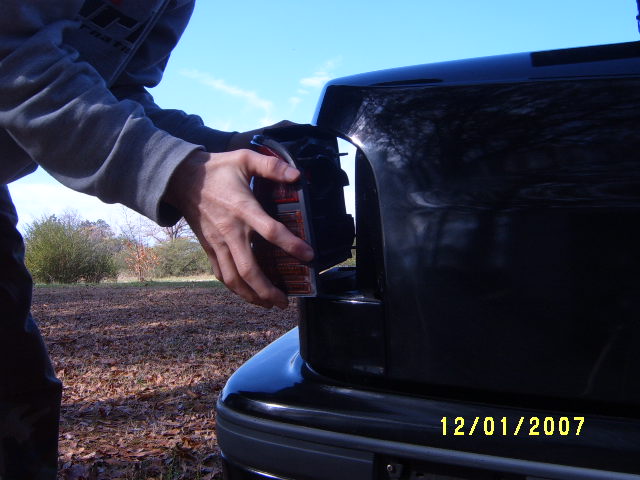
7) Painting the parts now. Just follow the directions on the can of
spray and use a even coat in a well ventilated area. I didn't want my
lights to be BLACK just to kind of blend in with the car better. I also
left off the 3rd brake light for more safety than looks.
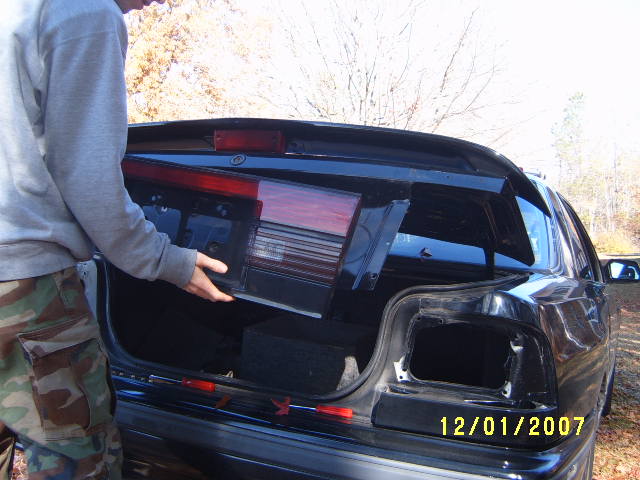
8) Put all the parts on in reverse order.
9) Your finished product should look like this.


If you are wondering how easy light is to be seen with only one coat of
tint. I used only one layer and this is what my rear tails looked like.
It is just a short video.

|
S4300066.AVI Size : 1.691 Kb Type : AVI |
|
|
S4300067.AVI Size : 0.971 Kb Type : AVI |