Vehicles covered by this write-up: 2005-2006 Cobalt LS
Installation Duration: 1 hour
Skills needed(1 being least and 10 being expert): 3
Parts you need to purchase:
Some sort of gauge pod(your preference)
Oil Pressure Gauge - Summit Racing Brand (Summit Racing Part # SUM-G2985)
Oil Pressure Sender - Summit Racing Brand (Summit Racing Part # SUM-G2987)
Autometer Adapter (Summit Racing Part # - ATM-2278)
Wire
Crimps
Tools:
Clothes hanger
Wire cutters and strippers
Crimpers
Vice Grips
Teflon Tape
14mm Open-end wrench(can't use a boxed-in)
19mm Wrench
10mm socket & ratchet
Directions:
1) Disconnect battery(located in trunk)
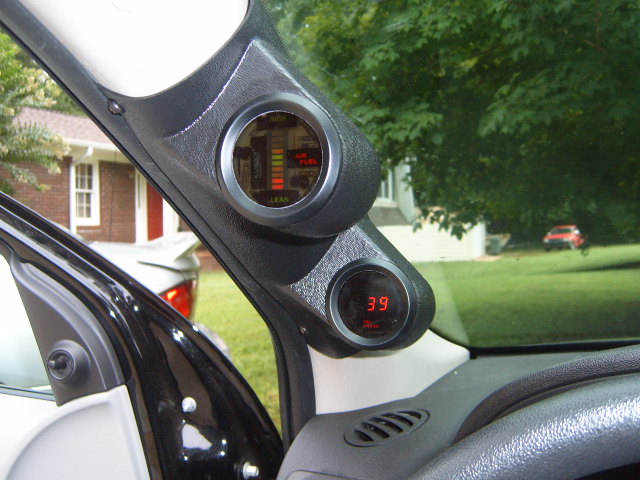
2) Install gauge pod onto A-pillar or whereever following their instructions. I used a a-pillar gauge pod and had to attach it with four screws and drill a hole for the wires as I'm going more for function right now.
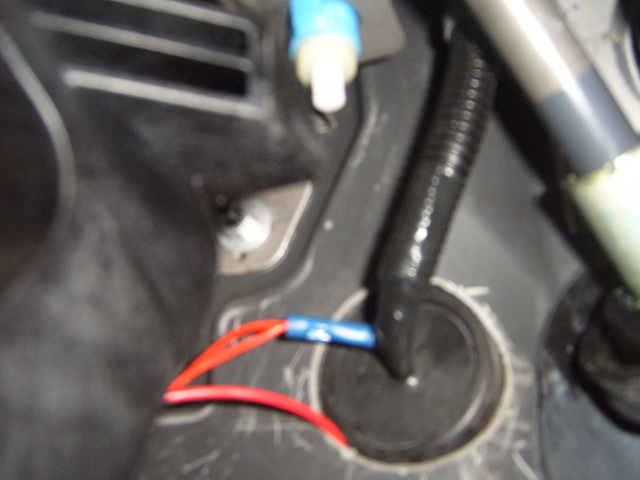
4) Hooking up the power wire - using a crimp put the red wire(power)
and crimp it into one side. The power wire you ran through the firewall
will be connected to the other side using the same method.
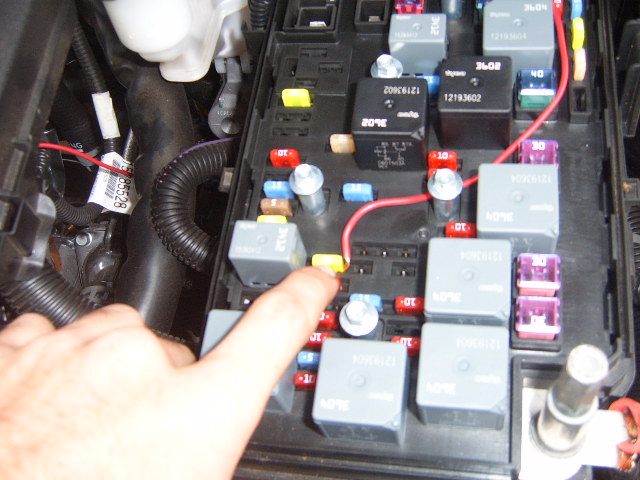
5) Now adding power - Take off the fuse box cover and find the IP Ign
fuse. A mini green 20A fuse. Strip off some of the wire and put this on
ONE side of the fuse and re-insert fuse. Congrats-You have power now.
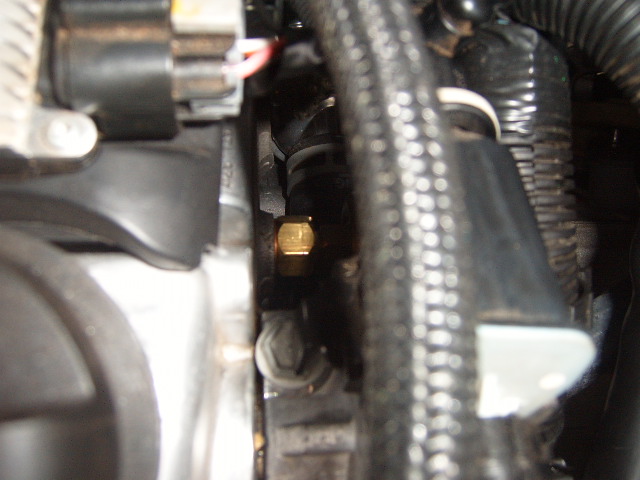
7) Prepping Sensor for installation - Clean the threads thoroughly. Wrap a little teflon tape around the threads. Screw the adapter into place. Holding the sensor(be careful it will crush like a oil filter) place the 14mm on the provided area and with your 19mm securely tighten the adapter down into place. DO NOT OVERTIGHTEN. Now add some teflon tape to the adapter threads like you did the sensor threads. Place the copper crush ring in place that is provided with the adapter.
(no picture since I did not have my camera with me at work)
8- Removing the head plug. I tried to use a allen wrench as that is what you are suppose to use, yet the 7/32" was too small and the 1/4" was too big. As was the 5.5mm and 6mm. Take the vice grips and SECURELY get it on the plug. You will have to move some wires and all out of your way. And just break it loose as it is securely in place. I had trouble and I only have 10,000miles on my vehicle. Get the senser ready as you should have it already assembled as when you remove the plug you will lose some oil. Screw in the assembly and tighten down with your 19mm wrench. Make sure you crush the copper ring FLAT and do not overtighten as well.
Picture of finished product:
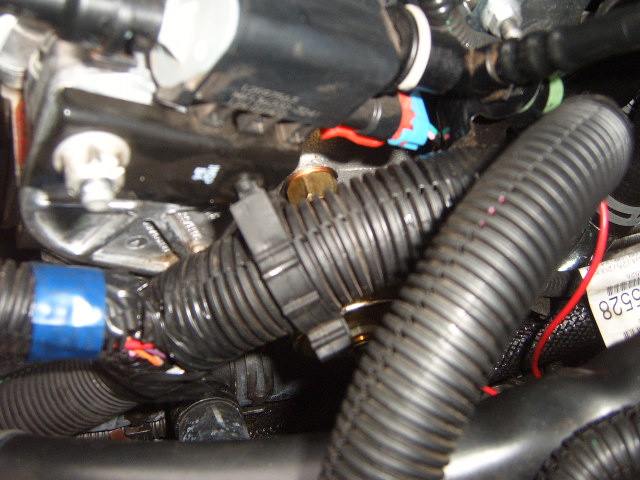
Picture of adapter:
TIP: Remove the center plug as it will give you the most room.
9) Hooking sensor to gauge(orange) - Now that you have the sensor
securely installed. Run yet another wire from inside to the engine bay.
This will be your signal wire for the oil pressure. Crimp a O connecter
on the end going to the sensor and install with the provided hardware.
Crimp the other end to your orange wire leading up to the gauge.
10) Reconnect battery and double check all wires.
11) Crank up engine and watch the pressure.
My car showed the following:
Idle: 30s
Normal driving: 50s
WOT Conditions: 60s
Disclaimer: Do not put gauge where it will affect your night time
driving. I am under no reason responsible for where you install it.
Please drive safely & responsible.
For further information or questions please refer to my CobaltSS.net thread thank you:
http://www.cobaltss.net/forums/showthread.php?t=26929